Process Mapping Best Practices for Operational Clarity
I love a good process mapping exercise. For a small business, working through process mapping leads to countless benefits. It can clarify who does what, eliminate confusion, reduce missed steps, highlight inefficiencies and bottlenecks, surface opportunities for automation, identify unnecessary steps, draft a solid SOP… this list goes on and on.
So let’s talk process mapping. Not in a “corporate training manual” way… just a simple, practical way to gain clarity on how things actually get done in your business.
Whether you’re trying to untangle a complicated workflow, delegate more effectively, or prep for scaling, mapping out a process is a solid place to start. Here's how to do it without overcomplicating things.
Seven Easy Steps for Process Mapping Success
1. Pick ONE Process
One. Not five. Not "everything we do." Just choose a single process that feels clunky, inconsistent, or too reliant on one person’s brain. That’s your starting point.
2. Define the Bookends
When does this process start? When is it done? What outcome are you aiming for? Are multiple outcomes possible? And be specific! It’s easy to go vague (“when someone asks for help!”), but being clear here now makes the rest of the mapping exercise easier.
3. Gather Real Info from Your Team
Watch how the process actually plays out. Talk to the people doing the work. Skim through old docs or screenshots. Yes, leadership will usually define the initial version, but the real gold comes from the people in the weeds. They know where things break down, what’s working, and where they’ve had to invent workarounds to make it happen.
Remember: Build the process from the user up, not the top down.
4. Outline the Steps
Start with the major steps, then fill in more details. For each step, include:
What’s happening
Who’s doing it
Hot Tip: Document by role, not by name so that as your team grows and changes, you don’t need to update documentation to change names!)
What’s needed to complete the step (systems, inputs, info)
What happens next
Include decision points, handoffs, and any “if this, then that” forks. Keep it scrappy at first… this isn’t your final draft.
5. Map It Visually
Turn your notes into a basic flowchart. It doesn’t have to be fancy; boxes and arrows work fine. If you want to get crazy, throw in some colors to help categorize steps that go together - maybe everything done by the marketing team is highlighted in blue, while tech is green. Just make sure you clearly show the order of operations and who’s responsible for what.
My favorite tool for visual process maps and flowcharts is Miro* - it’s simple to use, easy for multiple people to contribute to it, and, frankly, I just like the look of the charts!
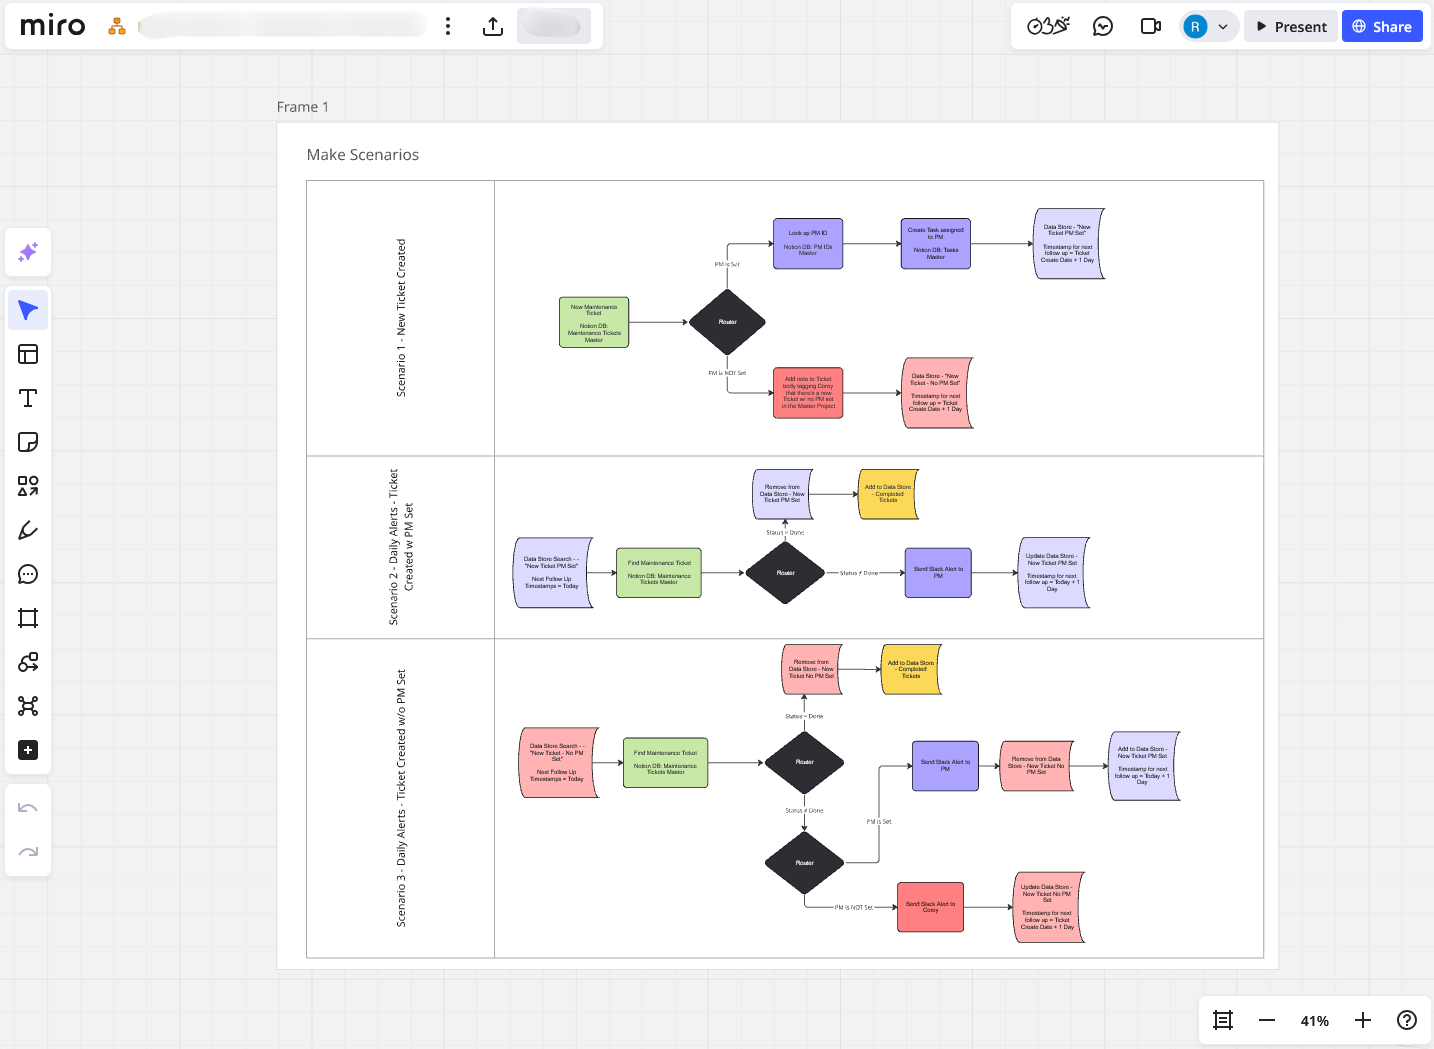
A sample visual process map that I built using Miro*!
6. Stress Test It
Walk through the process with the folks who run it and the ones impacted by it (including clients!). Where do things slow down? Where do people get stuck? What’s unclear, repetitive, or just plain unnecessary? Look for spots to streamline, automate, or clarify.
7. Iterate
Processes aren’t one-and-done. After the first draft, expect tweaks. Run it a few times. Gather feedback. Refine it again. The goal is usability, not perfection.
One Last Thing…
Start with the current process, even if it’s messy. Don’t map what you wish was happening. Map what is happening. Then, keep stress testing and iterating to move toward your ideal version.
That’s it. No overthinking. Just a clear, grounded way to bring order to the chaos.
Looking for a Fractional Operations Manager to help guide your process mapping exercise? Let’s talk!
*Note: I am a Miro Partner, so this is an affiliate link!